Pages

Sunday, March 22, 2009

New windows and doors

Earlier in my blog I mentioned that I was going to add a window to the kitchen and make a new door for the kitchen. Because this kit was designed to be flexible in it's internal layout I found that the 'back' door was in the wrong place for my era. It had been placed in the room behind the living room which I was intending to use as a dining room. (This would be more in keeping with a house of this period) So I made this door into a french door leading out into a 'side garden'....


When these houses were originally built the kitchen would have been at the back of the hallway and to one side of the property (with the dining/back room at the other side behind the living room) I therefore wanted to have a door leading out from the kitchen. This photo shows the new door.  The bathroom window is above it and the landing window to the side.


This is the new window I've put into the kitchen looking out to the back.
 

The bedrooms

This is my progress so far on the bedrooms. In the front bedroom I've wallpapered the walls with a pretty floral pattern and all the woodwork again is in oak.


The flooring is 'lino' made from a piece of William Morris wallpaper I had spare. I remember having flowery lino in our bedrooms when I was little....I made the fireplace from a Phoenix kit.


This is the progress so far with some furniture, lots more accessories to add!


The back bedroom has again been papered in a simple flower design, with oak woodwork and the same flowered lino. 


I haven't got very far with furnishing this room yet....


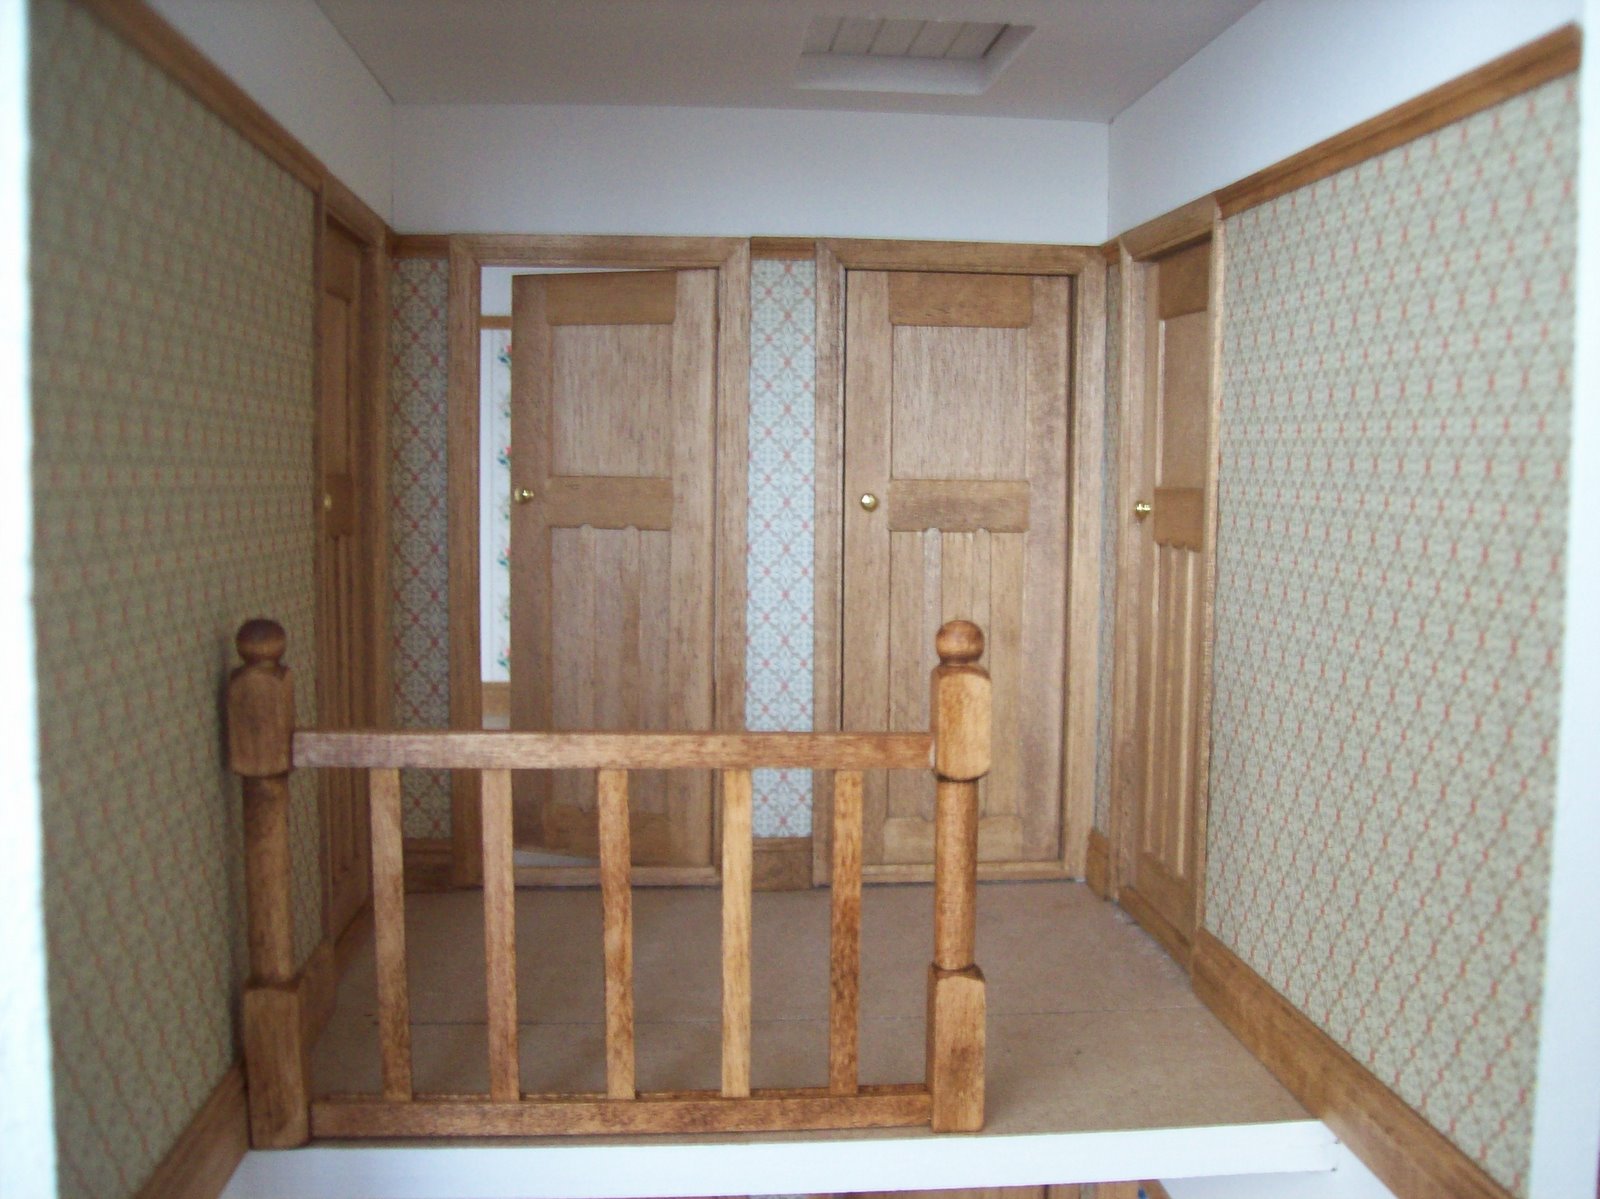
The hallway and landing

Decorating the hallways and landings of dollshouses can be quite a daunting task but in this house there are so many sets of doorways it has been fairly straightforward! 


I tackled the hallway first and then moved upstairs to the landing.

 Downstairs I wanted to incorporate an understairs cupboard so I made some wood panelling to the side of the stairs.


I made the panelling using stripwoods and then stained them with oak stain. I bought an extra door to make the cupboard. 


This is still a work in progress as the stairs aren't glued into place yet..... 


The Nursery

Here is the nursery which I've decorated with a pretty Beatrix Potter design. I decided against my original plan of printing my own wallpaper as our printer doesn't do very good quality printing, time to invest in a new one I think.


I'm pleased with how it's looking so far...again there is lino on the floor.


Bricklaying finished!

The bricklaying is complete - it took awhile but it has been well worth the effort. 
Each tiny brick has been glued on one by one.


First I painted the walls which were to be bricked with a mortar coloured paint


I started with the area under the bay window


It was abit tricky working my way around the arch


But I got there in the end!
I finished off the porch with real quarry tiles.


Side view


Then it was the turn of the chimmney stack.


I've painted the pebbledash in white and the roof is covered in embossed fibreglass tile sheet. The stain glass inserts just complete the look...